 Save
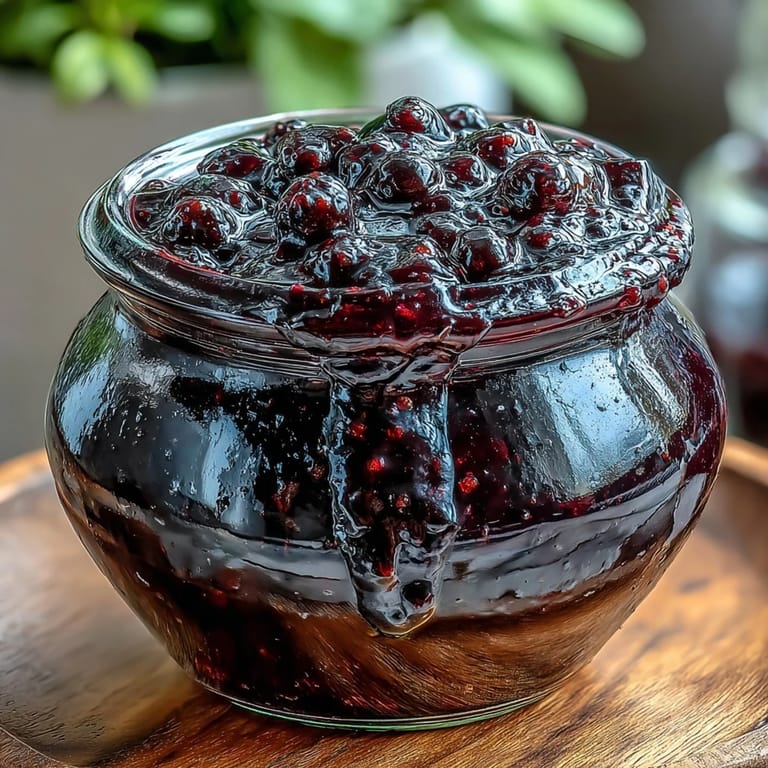
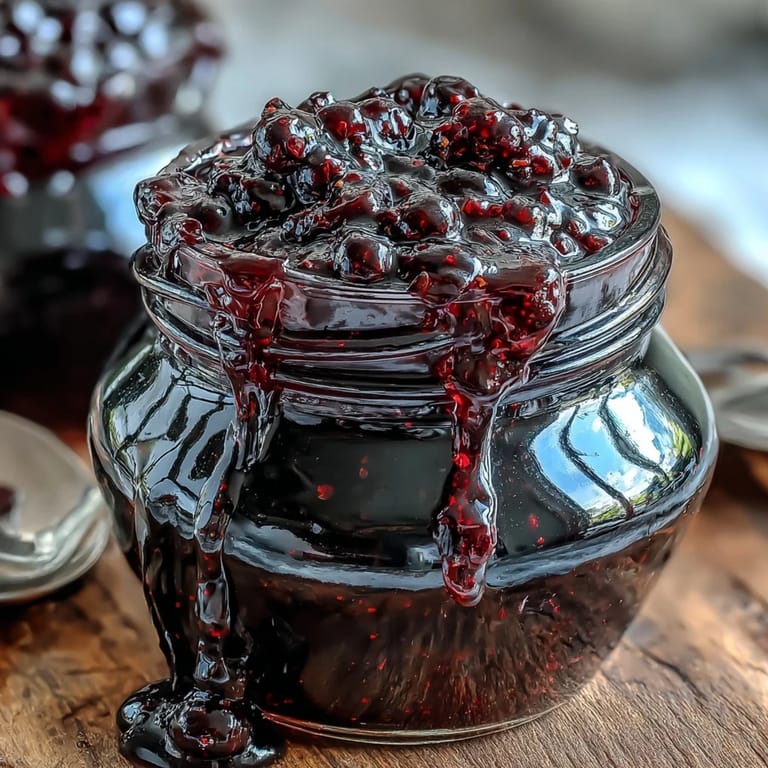
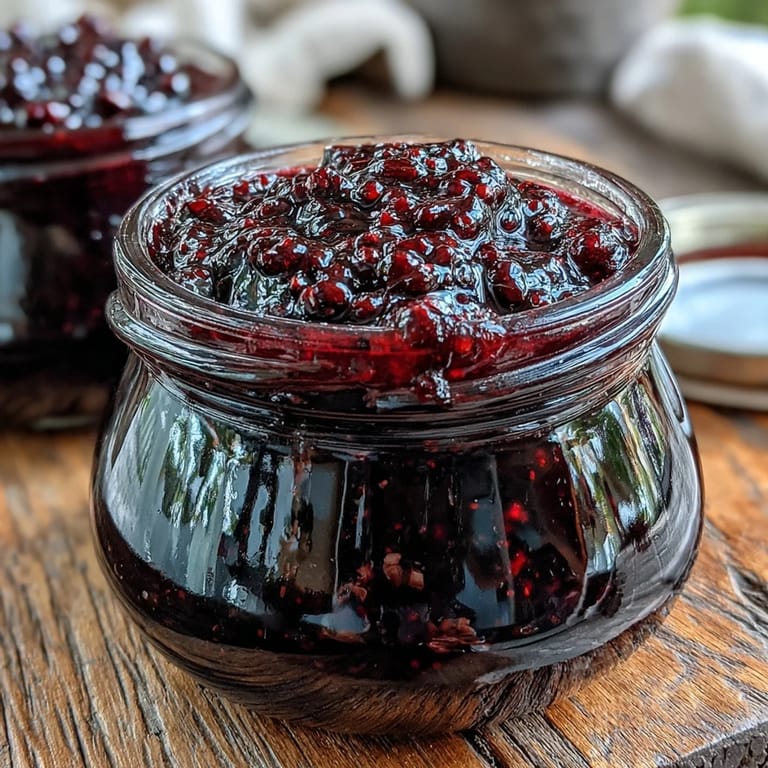
Save There's something almost magical about watching blackcurrants transform from a pile of dark berries into glossy, jewel-toned jam. I discovered this recipe on a July afternoon when my neighbour appeared at my door with a full basket from her garden, insisting I do something with them before they spoiled. The kitchen filled with that distinctive sharp-sweet aroma—not quite like anything else—and I was instantly hooked.
I'll never forget spreading this on warm toast the morning after my first batch set perfectly, sitting at my kitchen table with strong tea and the quiet realisation that I'd just made something shelf-stable from nothing but fruit and sugar. My partner tasted it and asked why we'd ever bought jam from the store again—a question I still don't have a good answer for.
Ingredients
- Fresh blackcurrants (1 kg): These small, dark berries are packed with natural pectin, which helps your jam set without any added gelling agents—look for firm, dry berries and don't skip cleaning them gently under running water.
- Granulated sugar (900 g): The ratio matters here; too little and your jam won't set, too much and it becomes cloying—this amount strikes the perfect balance with the berries' tartness.
- Fresh lemon juice (2 tbsp): Beyond brightening the flavour, the acid helps activate the pectin and prevents crystallisation, so squeeze it fresh rather than using bottled if you can.
Tired of Takeout? 🥡
Get 10 meals you can make faster than delivery arrives. Seriously.
One email. No spam. Unsubscribe anytime.
Instructions
- Prepare your test plate:
- Pop a small ceramic or glass plate into the freezer—this becomes your jam-readiness checker, so make sure it's cold before you start cooking. You'll thank yourself when you're testing for that perfect wrinkle.
- Combine fruit and lemon juice:
- Tip your cleaned blackcurrants into a large, heavy-bottomed saucepan and pour in the fresh lemon juice. Using a potato masher, gently crush about half the berries, releasing their juices without obliterating them completely—you want some texture in the finished jam.
- Stir in sugar and rest:
- Add the granulated sugar and stir well to combine, then let the mixture sit undisturbed for 10 minutes; this resting period draws out more juice from the berries, which helps the sugar dissolve more smoothly when heat is applied.
- Dissolve sugar gently:
- Set the saucepan over medium heat and stir frequently until every grain of sugar has dissolved into the dark berry liquid—this takes patience, but rushing it or increasing the heat too quickly can result in a grainy, crystallised jam. You'll smell the berries intensifying as warmth brings out their natural aromatics.
- Bring to a rolling boil:
- Once the sugar is completely dissolved, increase the heat to high and bring the mixture to a rapid, rolling boil—you'll see vigorous bubbles breaking the surface. Stir frequently to prevent the bottom from sticking or catching, and skim off any pale foam that rises to the top with a spoon or kitchen paper.
- Test for setting point:
- After about 10 to 15 minutes of hard boiling, carefully place a small drop of jam onto your frozen plate and wait for 1 minute; gently push the cooled jam with your fingertip, and if it wrinkles and holds its shape, you've reached the setting point. If it doesn't wrinkle yet, return to boiling and check again in another minute or two.
- Rest and settle:
- Remove the saucepan from heat and let it sit for 5 minutes, stirring occasionally so the fruit disperses evenly throughout rather than sinking to the bottom. This pause also allows the temperature to drop slightly, which can help prevent the jam from seeping past the jar seals.
- Jar while hot:
- Using a ladle, fill your sterilized jars with the hot jam, leaving roughly 0.5 cm of headspace at the top; seal the lids immediately while the jam is still hot, which creates a vacuum seal as it cools. Work quickly but carefully, as the jam is extremely hot and can cause serious burns.
- Cool and store:
- Allow the sealed jars to cool completely at room temperature before labeling and moving to storage; once cooled, the jam keeps in a cool, dark cupboard for months, and in the refrigerator for up to 4 weeks after opening.
 Save
Save Years later, I still think of jam-making as one of those small kitchen rituals that feels almost meditative—the bubbling sound, the deepening colour, the moment you know it's perfect. It's turned me into the sort of person who brings jars to friends and actually cares about their response.
Variations Worth Trying
Once you've mastered the basic recipe, you'll want to experiment. A vanilla pod split lengthwise and steeped in the jam during cooking adds a subtle floral note, while a splash of cassis liqueur—just a tablespoon or two—deepens the flavour into something more complex and almost wine-like. Some people add a pinch of cardamom for warmth, though start conservatively as it can easily overpower.
Sterilising Jars Properly
Clean jars are important, but truly sterilised jars prevent spoilage and ensure your jam keeps for months. Wash them thoroughly in hot soapy water, then either run them through a hot dishwasher cycle, place them in a 150°C oven for 15 minutes, or submerge them in boiling water for 10 minutes. Keep them warm until the moment you fill them—a cold jar meeting hot jam can cause the glass to crack.
Troubleshooting Common Issues
If your jam doesn't set, it's not a disaster; simply return it to the saucepan, add a squeeze more lemon juice or a tablespoon of liquid pectin if you have it, and reboil for another few minutes before testing again. On the flip side, over-boiling results in dark, thick jam that tastes almost burnt—watch the time carefully and trust the wrinkle test over cooking times, which vary depending on your stove and pan shape.
- If jam crystallises after sitting, it's usually a sugar imbalance; avoid this by ensuring the sugar is fully dissolved before boiling and by adding the lemon juice as directed.
- Mould on top means the seal wasn't proper or the jar wasn't sterilised—always discard affected jam rather than trying to salvage it.
- A weepy jam that never fully sets might contain too little sugar or need more boiling time, so the frozen-plate test is your best defence against this outcome.
 Save
Save There's real pleasure in opening a cupboard months later and seeing those dark jars lined up, knowing you made them with your own hands. This jam turns ordinary mornings into something a little more special.
Recipe FAQs
- → How do I know when the jam has reached setting point?
Place a small plate in the freezer before starting. After boiling for 10-15 minutes, drop a small amount of jam onto the chilled plate and wait 1 minute. Gently push the jam with your finger—if it wrinkles and forms a skin, it has reached setting point and is ready to jar.
- → Can I use frozen blackcurrants instead of fresh?
Yes, frozen blackcurrants work wonderfully and may even release juices more readily. Thaw them completely before starting and pat dry slightly. You may need to extend the boiling time by 2-3 minutes to compensate for the extra moisture content from freezing.
- → How long will this jam keep properly sealed?
When properly sterilized and sealed in airtight jars, this jam will keep for up to 12 months in a cool, dark place. Once opened, refrigerate and consume within 4 weeks for the best quality and flavor.
- → Why do I need to let the jam sit for 5 minutes before jarring?
This resting period allows the fruit to distribute evenly throughout the jam instead of floating to the top. It also slightly thickens the mixture, preventing the fruit from settling at the bottom of the jars during storage.
- → Can I reduce the sugar content for a healthier version?
Sugar is essential for proper preservation and setting in traditional jam making. Reducing sugar significantly may affect the jam's shelf life and texture. For lower sugar options, consider using a commercial pectin specifically designed for reduced-sugar preserves.
- → What's the purpose of skimming foam during boiling?
Skimming removes foam that forms as fruit releases air during boiling. This foam can trap impurities and create a cloudy appearance. Removing it results in a clearer, more attractive finished product with a longer shelf life.