 Save
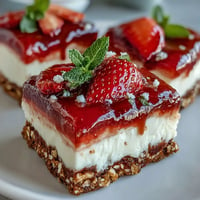
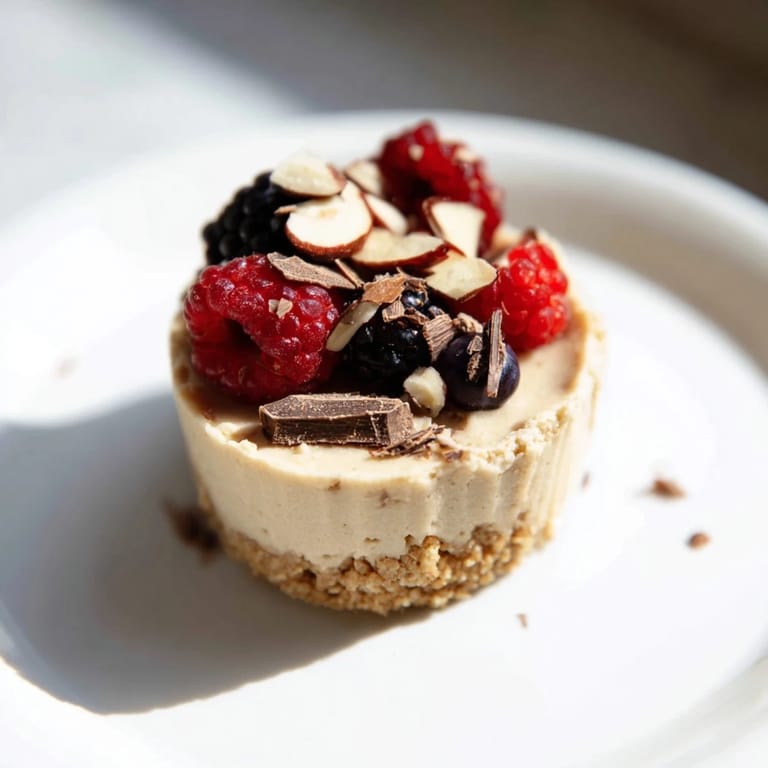
Save I discovered these protein cheesecake cups by accident one afternoon when I was staring into my fridge at a half-empty container of Greek yogurt and some cream cheese that needed using. The kitchen was quiet, and I had about twenty minutes before needing to leave for the gym. I threw together what felt right—creamy, tangy, a little sweet—and two hours later, I pulled these perfect little cups out of the fridge. They tasted like cheesecake but felt like something I could actually eat guilt-free. That small kitchen moment turned into my new favorite post-workout ritual.
I made a batch for my sister last month, who's always skeptical about my healthy food experiments. She bit into one while standing in my kitchen, and I watched her eyes go wide—she thought it was a real cheesecake at first. Seeing her reach for a second one before even finishing the first was all the validation I needed. She now texts me photos of hers with different berry combinations, and somehow they've become her pre-run ritual too.
Ingredients
- Oat flour: This creates a nutty, substantial base that holds everything together without being dense—use almond flour if you're going fully gluten-free and want a slightly finer crumb.
- Almond or peanut butter: The fat here binds the base and adds richness; natural versions work beautifully and taste cleaner than the sweetened alternatives.
- Honey or maple syrup: Either works, though maple gives a slightly earthier note that some people prefer with the protein powder.
- Cream cheese: Reduced-fat works perfectly here without sacrificing creaminess, and it's what keeps these from feeling overly dense.
- Greek yogurt: Non-fat or low-fat is essential—it adds tang, moisture, and keeps the protein content high without extra fat.
- Vanilla whey protein powder: Two scoops is the sweet spot; too much and you'll taste the powder, too little and you lose the protein advantage and the slight sweetness.
- Vanilla extract: A full teaspoon is important here because it balances the tanginess from the yogurt and cream cheese.
- Lemon zest: Optional but genuinely transformative—it brightens everything and keeps the cheesecake from feeling one-note.
Tired of Takeout? 🥡
Get 10 meals you can make faster than delivery arrives. Seriously.
One email. No spam. Unsubscribe anytime.
Instructions
- Mix the crunchy foundation:
- Combine your oat flour, nut butter, honey, and salt in a bowl until the mixture looks like damp sand and holds together when squeezed. This should take about a minute of stirring, and you'll know it's right when it feels substantial but still crumbly.
- Build the base layer:
- Spoon the mixture evenly into muffin liners and press down firmly with your fingers or the bottom of a measuring cup, creating a thin, compact layer. Don't worry about it being perfect—a little rustic texture actually feels more homemade and still holds beautifully.
- Create the creamy filling:
- Beat your softened cream cheese first until it's smooth and there are no lumps, then fold in the Greek yogurt slowly so it stays creamy and doesn't get grainy. Add the protein powder, honey, vanilla, and lemon zest last, mixing just until everything is combined and fluffy.
- Layer with care:
- Spoon the filling gently over each base, smoothing the tops with a spatula or the back of a spoon so they look almost professional. The mixture will thicken slightly as it sets, so don't worry if it seems soft right now.
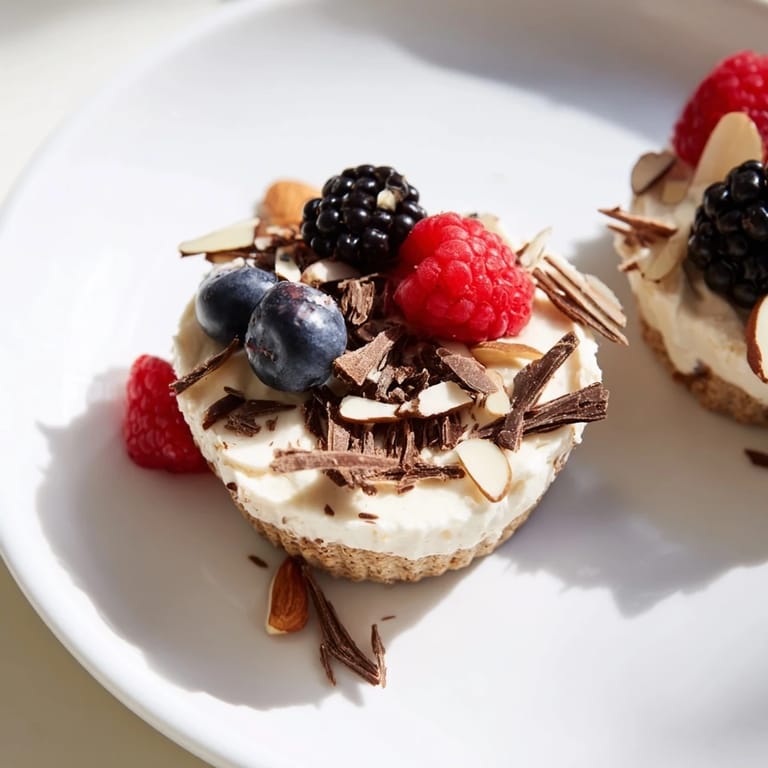
- Top your creations:
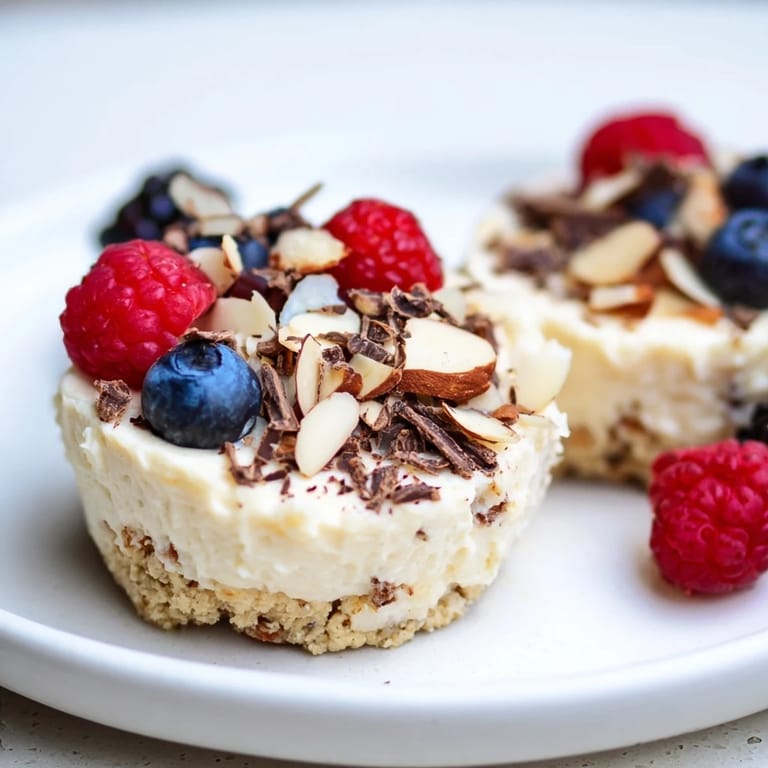
- Add your chosen toppings—fresh berries, crushed nuts, or chocolate shavings—pressing them gently so they stay put. This is where you make them your own, and it's honestly the most fun part.
- Let them set:
- Refrigerate for at least two hours until they're firm enough to remove from the liners without falling apart. The longer they chill, the better the texture, so overnight is actually ideal if you can plan ahead.
 Save
Save There's something quietly satisfying about pulling these little cups out of the fridge and knowing you made something that tastes like dessert but actually feeds your body. My trainer noticed I had more energy on my heavy lift days, and I realized it wasn't just the protein—it was the ritual of having something I actually wanted to eat that also served a real purpose. These cups became the proof that healthy eating doesn't have to taste like punishment.
Flavor Variations Worth Trying
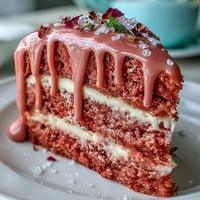
Once you nail the basic version, the possibilities open up beautifully. I've made a chocolate version by adding two tablespoons of cocoa powder and a touch extra honey, and a berry version where I pureed fresh raspberries and swirled them into the filling. My roommate made a salted caramel version by drizzling caramel sauce over the base before adding the filling, and it's honestly dangerous because it tastes like a fancy dessert. The base and filling proportions stay the same; you're just playing with extracts, zest, and mix-ins to find your favorite combination.
Storage and Make-Ahead Magic
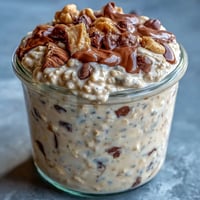
These cups actually improve after sitting in the fridge for a day or two because the flavors deepen and the texture becomes even more set. I make a batch on Sunday and have ready-to-grab cups all week, which is a game-changer on mornings when I don't have time to think about breakfast. They keep for up to five days in an airtight container, though honestly they usually don't last that long in my house.
Customization and Dietary Swaps
The beauty of this recipe is how easily it adapts to what you have on hand and what your body needs. I've made them with almond flour instead of oat flour for a lower-carb version, and with cashew butter when almond wasn't available. If you're vegan, swap the cream cheese and yogurt for dairy-free versions and use plant-based protein powder—the texture stays creamy and the taste stays rich. The base can also be swapped for crushed gluten-free cookies, nut-based granola, or even dark chocolate cookies if you're feeling creative.
- Add a tablespoon of nut butter directly into the filling for extra richness if you want a more indulgent version.
- If your protein powder is chocolate flavored, use that and skip the vanilla extract for a different vibe entirely.
- Fresh fruit toppings taste best when added right before eating so they stay vibrant and don't get soggy.
 Save
Save These little cups represent something I didn't expect when I started making them: the realization that taking care of your body and enjoying your food aren't competing goals. Now they're part of how I show up for myself, one creamy, protein-packed bite at a time.
Recipe FAQs
- → Can I use almond flour instead of oat flour?
Yes, almond flour provides a gluten-free option and adds a subtle nutty flavor to the base.
- → How long should the cheesecake cups chill?
Chill for at least 2 hours until the filling sets firmly and develops a creamy texture.
- → Are there vegan alternatives for the filling?
Use dairy-free cream cheese, plant-based yogurt, and vegan protein powder to create a vegan-friendly version.
- → What toppings work well with these cups?
Fresh berries, chopped nuts, or dark chocolate shavings enhance texture and add bursts of flavor.
- → Can honey be substituted?
Maple syrup is a great alternative sweetener that works well in both the base and filling.