 Save
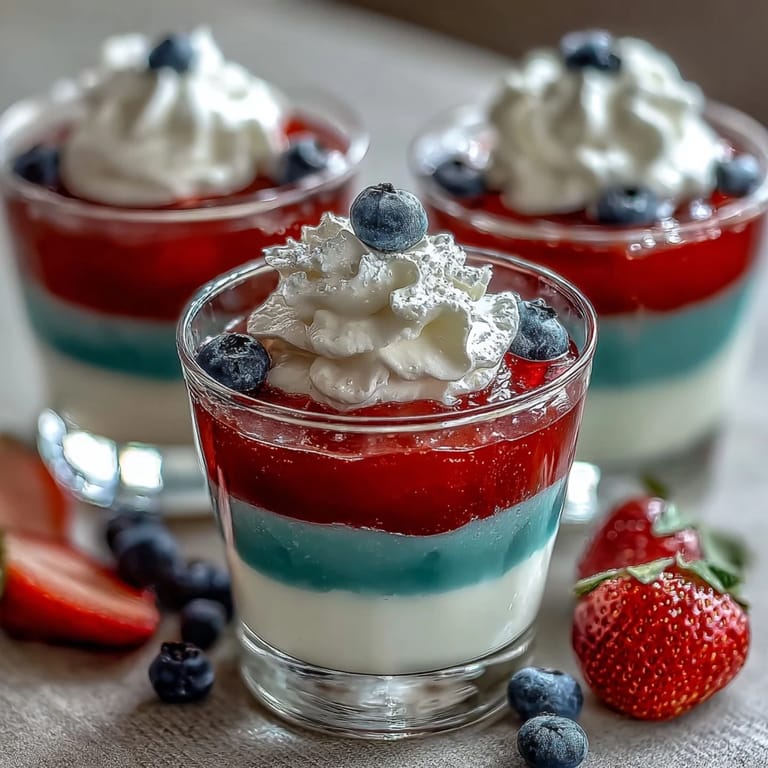
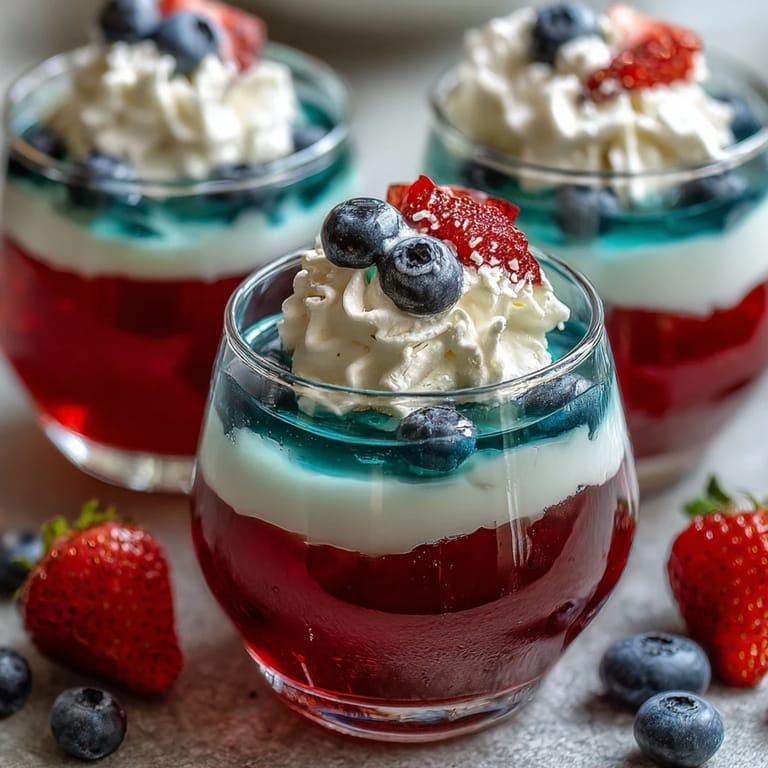
Save My neighbor showed up to a Fourth of July potluck with these stunning layered jello cups last summer, and I couldn't stop staring at them—the way the ruby red caught the afternoon light, how the creamy white middle looked almost like clouds, and that electric blue peeking through. She caught me admiring them and laughed, saying they were easier than they looked and that I absolutely had to make them myself. The first time I tried, I was nervous about the layers staying separate, but once I realized the trick was patience and proper cooling, I became obsessed with the whole process.
There's something wonderful about watching people's faces when they see these cups for the first time at a gathering. My sister brought them to a family barbecue and her three-year-old insisted on helping cut the berries for the topping, getting more whipped cream on her face than on the dessert. Even the adults who usually skip sweets ended up coming back for seconds.
Ingredients
- Strawberry or cherry Jello (3 oz box): This is your bold red stripe, so pick a flavor you actually like since you'll taste it clearly.
- Boiling water (2 cups total): Hot water is essential for dissolving gelatin properly—use a kettle, not the microwave.
- Cold water (1 cup total): This cools down the Jello so you don't cook the layers that come after it.
- Unflavored gelatin (1 envelope): This is your secret weapon for the creamy white middle layer—it needs to bloom in cold water first or it'll get clumpy.
- Sweetened condensed milk (1 cup): This transforms plain gelatin into something rich and elegant-tasting without any cooking.
- Blue raspberry Jello (3 oz box): The final dramatic touch that makes the whole thing patriotic and fun.
- Whipped cream and fresh berries (optional): These toppings aren't required, but they turn a dessert into a moment worth remembering.
Tired of Takeout? 🥡
Get 10 meals you can make faster than delivery arrives. Seriously.
One email. No spam. Unsubscribe anytime.
Instructions
- Set up your cups strategically:
- Grab eight clear cups and set them where they'll stay undisturbed for a few hours—a quiet corner of your fridge works perfectly.
- Make the red base:
- Stir the strawberry Jello into boiling water until completely dissolved, then cool it with cold water. Divide this among your cups (about two tablespoons each), then carefully tip them at an angle using a muffin tin to prop them up.
- Chill the red layer:
- This step requires patience—wait 45 to 60 minutes for it to set completely. You'll know it's ready when it doesn't jiggle if you gently shake the cup.
- Prepare the creamy middle:
- Sprinkle unflavored gelatin over cold water and let it sit for five minutes until it looks spongy, then pour boiling water over it and stir until smooth. Once you've stirred in the sweetened condensed milk, let this mixture cool to room temperature—this prevents it from melting your red layer.
- Add the white layer:
- Pour the cooled white mixture carefully over the set red layer, using about two tablespoons per cup. Set the cups upright now and refrigerate again for 45 to 60 minutes.
- Create the blue finale:
- Dissolve blue Jello in boiling water, cool it with cold water, then let it come to room temperature before pouring. This cooling step matters because warm gelatin will mess up the layers you've worked to set.
- Add the blue top:
- Once the white layer is firm, pour the blue Jello gently on top—about two tablespoons per cup—and refrigerate for at least two hours, or overnight if you're making them ahead.
- Finish and serve:
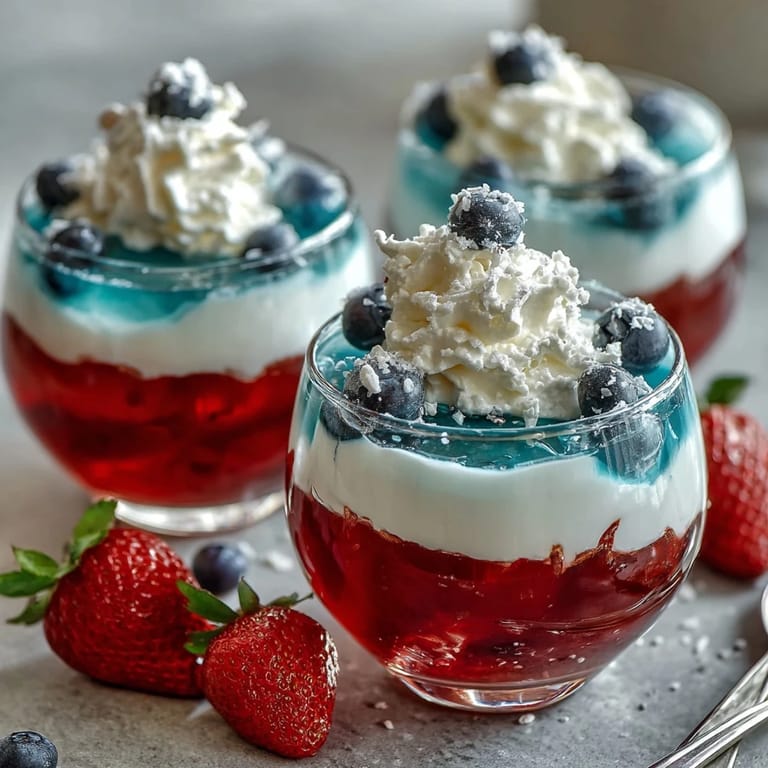
- Top with whipped cream and fresh berries right before serving, or let everyone add their own if you want to feel fancy.
 Save
Save I made these for a neighborhood gathering last Memorial Day, and someone asked if I'd bought them from a fancy bakery—that simple compliment made me realize how much joy a three-dollar box of Jello could bring to people. Now whenever I have them, I think about how sometimes the most impressive things are just about layering simple ingredients with intention.
The Angle Trick That Changes Everything
The first time I tried making these without angling the red layer, it looked like a puddle at the bottom of the cup. Once I learned to prop the cups in a muffin tin at an angle, the gelatin spread evenly and created that gorgeous slanted stripe that actually looks intentional and beautiful. It's one of those small details that transforms a dessert from looking homemade to looking like someone put real thought into it.
Why Timing Matters More Than You Think
Each layer needs to set completely before the next one goes in, and rushing this step is the number one reason these fall apart. I learned this the hard way when I got impatient and poured the white layer after only thirty minutes—the red started floating up and the whole thing became a blended mess. Now I set a phone reminder and use that time to do other party prep, which actually makes the whole cooking process feel less stressful because I'm not hovering.
Making Them Ahead and Flavor Swaps
These actually get better when you make them the day before because all the flavors have time to settle and the layers set more firmly. You can absolutely swap the flavors around—lime and orange work beautifully, or go purple and white for Halloween. If you need a dairy-free version for someone with allergies, coconut milk and a bit of sugar work almost as well as condensed milk and create that same creamy elegance.
- Make these up to two days ahead and cover them loosely so they don't absorb other flavors from your fridge.
- Room temperature gelatin is the real secret to clean, distinct layers—don't skip that cooling step.
- Fresh berries and whipped cream should go on right before serving so the cream doesn't get weepy.
 Save
Save These cups have become my go-to when I want to bring something that feels special without spending hours in the kitchen. There's real magic in how something so simple can become such a beautiful conversation starter.
Recipe FAQs
- → How do I ensure sharp layers in the jello cups?
Allow each layer to fully set in the refrigerator before adding the next to prevent mixing and maintain clear stripes.
- → Can I substitute the dairy ingredient in the white layer?
Yes, use coconut milk and sugar as a dairy-free substitute for the sweetened condensed milk to keep the creamy texture.
- → What flavors are used for the red and blue layers?
Strawberry or cherry flavoring is used for the red layer, while blue raspberry flavoring is used for the blue layer.
- → Is this dessert gluten-free?
Yes, it is gluten-free, but verify the gelatin and condensed milk brands to avoid hidden gluten.
- → What tools are needed for preparing these layered cups?
Mixing bowls, measuring cups, a whisk or spoon, 8 clear cups, a muffin tin for angled chilling, and a refrigerator are needed.