 Save
Save There's something about candying oranges that makes your kitchen smell like you've stumbled into a Mediterranean market—sweet, bright, almost unreal. I discovered this cake on a gray afternoon when a friend arrived with a bag of perfect oranges and we decided, half on impulse, to transform them into something golden and glossy. What started as an experiment became the kind of dessert that lingers in memory not just for taste, but for how it filled the whole house with warmth.
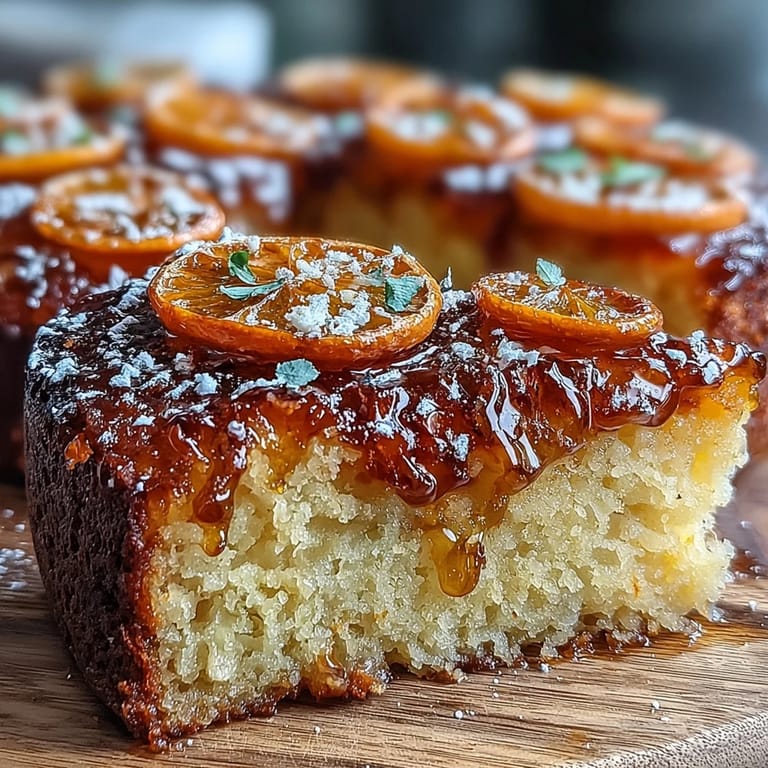
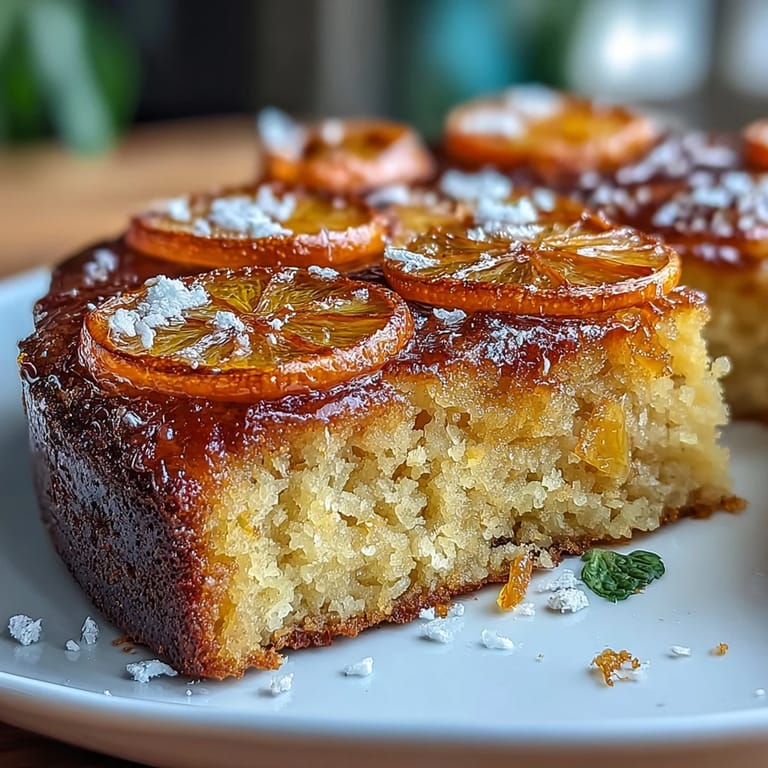
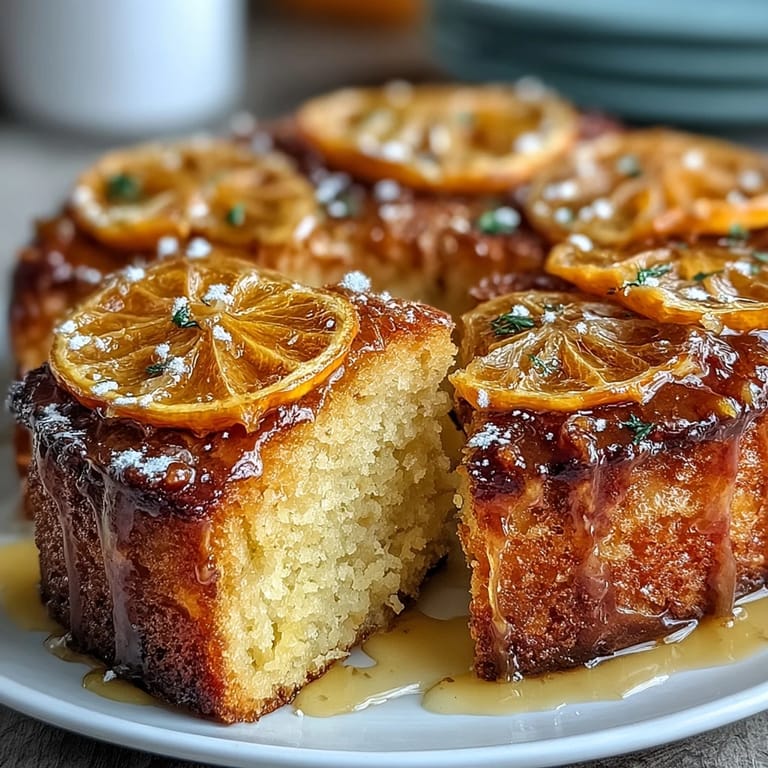
I made this for a small dinner party once, and the moment I inverted the cake and those candied oranges revealed themselves on top, the whole table went quiet. Someone said it looked too pretty to eat, then everyone reached for a slice anyway. That's when I knew this wasn't just a dessert—it was a conversation starter, the kind of thing that makes an ordinary evening feel a little more special.
Ingredients
- Medium oranges (2): Choose ones with thin, unblemished skin—they'll candy more evenly and look stunning when arranged on the bottom of the pan.
- Granulated sugar (1 cup for candying, 3/4 cup for batter): The sugar for candying does the work of preservation and gloss; don't skip gently simmering or your slices won't reach that perfect translucent stage.
- Water (1 cup): This becomes your candying liquid—the proportion matters for achieving the right consistency and sweetness.
- Almond flour (2 cups): Use finely ground almond flour, not almond meal; the texture difference is subtle but makes the cake tender rather than grainy.
- Gluten-free flour blend or all-purpose flour (1/2 cup): This provides structure without overpowering the delicate almond flavor.
- Baking powder (1 1/2 tsp): Make sure it's fresh; old baking powder won't give you the lift you need.
- Salt (1/4 tsp): A pinch brightens all the flavors and balances the sweetness.
- Large eggs at room temperature (3): Room temperature eggs incorporate more smoothly and create better volume when beaten with sugar.
- Extra-virgin olive oil (1/2 cup): Use oil you'd actually eat plain; a fruity or peppery one adds character.
- Plain Greek yogurt (1/2 cup): This adds tang and moisture—don't substitute it with sour cream or the flavor shifts.
- Orange zest (from 1 orange): Zest before juicing, and use a microplane for the finest, brightest flavor.
- Vanilla extract (1 tsp): Pure vanilla makes a difference here; the subtle floral note complements the orange.
Tired of Takeout? 🥡
Get 10 meals you can make faster than delivery arrives. Seriously.
One email. No spam. Unsubscribe anytime.
Instructions
- Candy the oranges first:
- Combine sugar and water in a saucepan over medium heat, stirring until the sugar dissolves completely—you want a clear syrup, not grainy. Lay orange slices in a single layer (you might need to work in batches), then simmer gently for 20 to 25 minutes, turning them occasionally so they candy evenly and become almost translucent at the edges.
- Prep your pan:
- While oranges cool, preheat the oven to 350°F and prepare a 9-inch round cake pan with a light grease and parchment on the bottom. This step matters—the parchment lets you invert the cake cleanly without the candied oranges sticking.
- Layer the stars:
- Once the candied oranges have cooled on parchment, arrange them slightly overlapping on the bottom of your prepared pan. They'll be your cake's crown once inverted, so take a breath and place them thoughtfully.
- Combine your dry ingredients:
- In a large bowl, whisk almond flour, gluten-free flour, baking powder, and salt together until evenly distributed. You're looking for no lumps of baking powder hiding in the almond flour.
- Cream eggs and sugar:
- In another bowl, beat the room-temperature eggs with sugar until the mixture is pale and slightly thickened—this takes about 2 to 3 minutes and matters because you're building structure. Whisk in olive oil, Greek yogurt, orange zest, and vanilla until smooth and emulsified.
- Fold gently:
- Pour the wet mixture into the dry ingredients and fold with a spatula using as few strokes as possible—overmixing develops gluten and makes the cake tough. You want just barely combined.
- Pour and bake:
- Spread the batter over the candied oranges, smoothing gently to fill the pan evenly. Bake for 40 to 45 minutes until a toothpick inserted in the center comes out clean or with just a few moist crumbs.
- Cool and invert:
- Let the cake rest in the pan for 10 minutes—this is important; too soon and it falls apart, too long and it sticks—then run a thin knife around the edges and invert onto a serving plate. Peel off the parchment carefully.
- Finish and serve:
- Dust the candied orange top with powdered sugar for brightness, add fresh mint if you have it, and serve at room temperature where all the flavors sing.
 Save
Save Years ago, my grandmother mentioned that good desserts are never just about sweetness—they're about moments. This cake taught me that lesson the hard way, because the first time I baked it carelessly and didn't patience with the candying, everyone politely ate it and that was that. But when I slowed down, paid attention, and let the oranges shine, suddenly people lingered at the table.
The Magic of Candying
Candying oranges is a small act of transformation that feels almost like alchemy. The slices start opaque and firm, and as they simmer in that sugar syrup, the citrus oils release and the flesh becomes translucent—you can almost see light through them. The first time I watched this happen, I understood why candied fruit was once considered precious enough to give as gifts.
Olive Oil as Secret Weapon
Butter cakes are classic for a reason, but olive oil brings something different here—a subtle fruity richness that lets the almond and orange flavors lead. The yogurt works alongside it to keep everything moist without making the crumb feel dense or oily. I learned this by accident when I was out of butter one afternoon and olive oil was what I had, and it became intentional ever since.
When to Serve and Storage
This cake improves slightly as it sits, the flavors settling into one another and the crumb becoming even more tender. It keeps, covered, at room temperature for up to two days, though it's unlikely to last that long once people discover it.
- For special occasions, you can make the candied oranges a day ahead and store them in their syrup in a glass jar—they keep for up to a week and actually taste better with time.
- If you want to serve it warm, a quick 10-minute reheat at 300°F brings back the just-baked softness, though the flavors really do open up at room temperature.
- A dollop of whipped cream or Greek yogurt on the side turns it into something almost elegant enough for a proper dinner party.
 Save
Save This is the kind of cake that makes you feel like you've done something special, even though the steps are straightforward. It's a gift you can give yourself on an ordinary Tuesday or a centerpiece for something more intentional.
Recipe FAQs
- → How do I prepare the candied oranges?
Simmer thin orange slices in a sugar-water mixture for 20–25 minutes until translucent, then cool on parchment.
- → Can I use regular flour instead of gluten-free flour?
Yes, regular all-purpose flour can be used if gluten-free options aren't needed.
- → What is the best way to serve the cake?
Serve at room temperature, optionally dusted with powdered sugar and garnished with fresh mint leaves.
- → How can I make the cake dairy-free?
Swap the Greek yogurt for a dairy-free alternative to maintain moisture and texture.
- → Can I use other types of oranges for candied slices?
Blood oranges work well for a vibrant color and slightly different flavor profile.