 Save
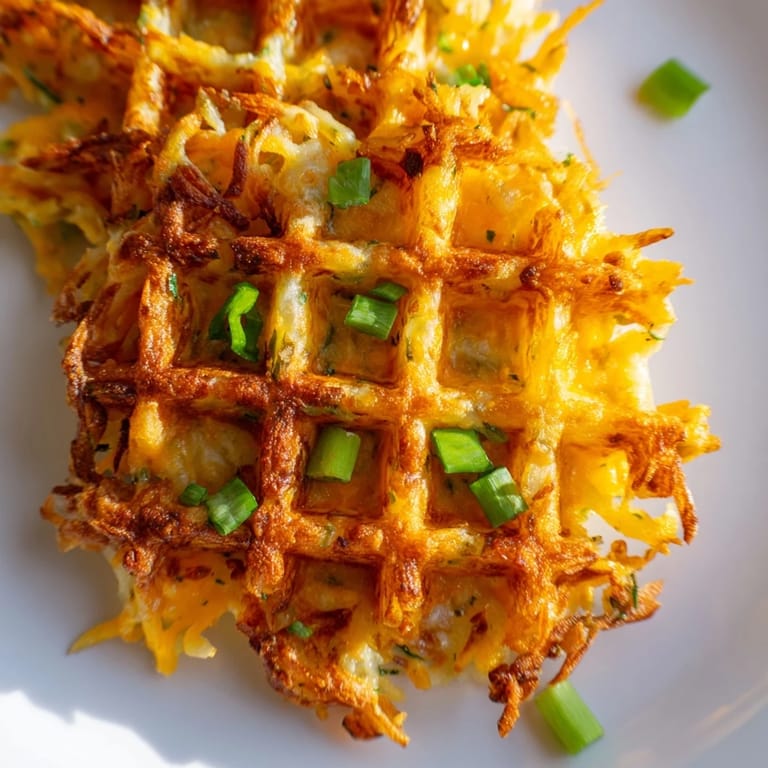
Save My waffle iron has been collecting dust in the back of a cabinet for years, reserved only for Sunday mornings when someone in the house demanded pancakes. Then one lazy Saturday, I opened the fridge to find sad leftover hash browns and a block of sharp cheddar staring back at me, and something clicked—why not turn breakfast into something crispy and indulgent? The moment I lifted that first golden waffle from the iron and heard the satisfying crunch, I knew I'd found something special.
I made these for a friend who showed up unannounced before work, and watching their face when they bit into that first warm waffle—the way their eyes went wide at the cheese pull—reminded me that the best meals are the ones that surprise people. They texted me the recipe the next day asking me to make them again.
Ingredients
- Frozen shredded hash browns: Buy them thawed and pat them completely dry with paper towels—this is non-negotiable if you want crispy waffles instead of steamed potatoes.
- Sharp cheddar cheese: The tanginess cuts through the richness and makes these actually crave-worthy, not just indulgent.
- Parmesan cheese: Just a quarter cup adds a salty, nutty undertone that makes people ask what your secret ingredient is.
- Eggs: These bind everything together and help create that crispy exterior when they hit the hot iron.
- Green onions: Fresh and fragrant, they're the reason these taste alive instead of heavy.
- All-purpose flour: Keeps the mixture from falling apart, but use sparingly so they stay tender inside.
- Garlic powder and onion powder: Subtle background notes that make these taste like something a restaurant would serve.
Tired of Takeout? 🥡
Get 10 meals you can make faster than delivery arrives. Seriously.
One email. No spam. Unsubscribe anytime.
Instructions
- Get your iron ready:
- Preheat the waffle iron and give it a light spray of nonstick spray—this is your safety net against sticking and disappointment.
- Mix everything with abandon:
- Combine the hash browns, cheeses, eggs, green onions, and seasonings in a big bowl, and don't be shy about mixing thoroughly. The mixture should be slightly sticky and hold together.
- Scoop and spread:
- Use about one cup of mixture per waffle, pressing it gently across the iron's surface—you want even coverage so every bite has that cheese distribution.
- Listen for the sizzle:
- Close the iron and wait about 5 to 7 minutes until the waffle stops steaming and the outside turns golden brown. Every waffle iron is a little different, so trust your senses more than the timer.
- The careful flip:
- Remove the finished waffle with a spatula, being gentle so you don't break it apart, then repeat with the remaining mixture.
- Eat immediately (or don't):
- Serve these while they're still warm and crispy, topped with sour cream, chives, hot sauce, or just by themselves if you're feeling pure.
 Save
Save There's something almost magical about watching someone's breakfast transform from ordinary to exciting, especially when they realize it's something you can make at home. These waffles have a way of doing that—turning a simple waffle iron into something that feels a little bit like bringing restaurant quality into the kitchen.
Flavor Swaps That Work
The beauty of this recipe is how adaptable it is once you understand the base. Pepper jack cheese brings heat and drama, while mozzarella keeps things milder and lets the potato shine through. I've had great results swapping in gruyere for something more sophisticated, and even tried a mix of cheddar and smoked gouda that made these taste like something from a fancy brunch spot. The key is not to go too light on total cheese—you want at least one and a quarter cups combined to keep that gooey factor.
Add-ins for Personality
Once you master the basic version, start thinking about what makes you happy. Crumbled bacon turns these into breakfast meat lovers' dreams, while diced bell peppers add brightness and a slight sweetness. I've added everything from crispy sage leaves to diced jalapeños depending on my mood, and the potato mixture is forgiving enough to handle experimentation without falling apart. Just make sure anything wet gets patted dry first, and anything chunky gets diced small enough to cook through in the time it takes the waffle to crisp.
Make Ahead and Storage
The real genius move is making a double batch on a calm Sunday and stashing them in the freezer for those mornings when you need something that tastes homemade but requires zero actual cooking. Let them cool completely, wrap them individually in plastic or parchment, then store them in freezer bags for up to a month. To reheat, just pop them directly into the toaster on medium heat until they're warmed through and re-crisped, which takes about three minutes. It's the closest thing to having a personal breakfast chef.
- Cool completely before freezing so condensation doesn't make them soggy.
- Reheat in the toaster, never the microwave, or you'll lose that precious crispiness.
- They're best eaten within two weeks of freezing for peak flavor and texture.
 Save
Save These cheesy hash brown waffles have quietly become my answer to the question of what to make when regular breakfast feels boring. They're proof that sometimes the best kitchen discoveries come from necessity and a waffle iron gathering dust.
Recipe FAQs
- → How do I get the waffles crispy?
Make sure the shredded potatoes are fully thawed and patted dry to reduce moisture. Cooking until golden in a well-heated, greased waffle iron helps develop crispiness.
- → Can I use different cheeses?
Yes, swapping sharp cheddar for pepper jack or mozzarella works well to vary the flavor profile without affecting texture.
- → Is it possible to add extra ingredients?
Adding cooked, crumbled bacon or diced bell peppers adds variety and extra flavor to the waffles.
- → Can these waffles be prepared ahead of time?
They freeze well and can be reheated in a toaster or oven, making them convenient for meal prep or quick breakfasts.
- → What seasoning blend is used?
A simple mix of garlic powder, onion powder, salt, and black pepper complements the potatoes and cheese without overpowering.