 Save
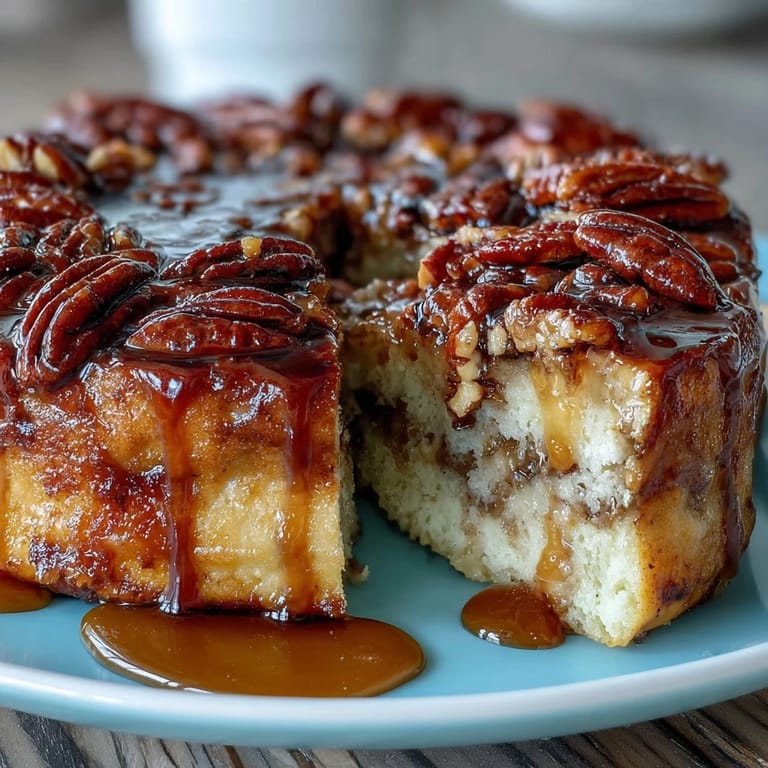
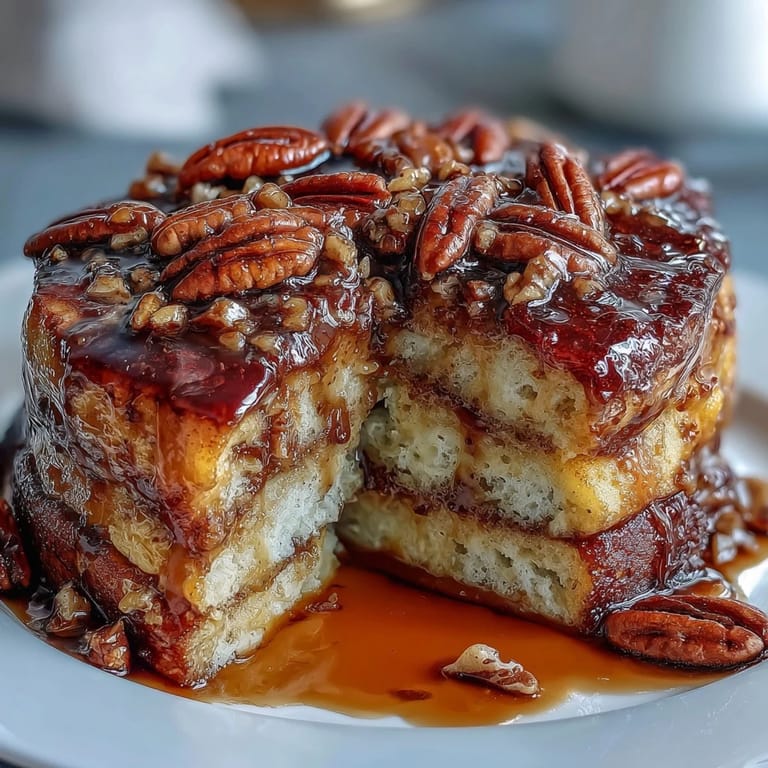
Save My sister called me in a panic the morning of her brunch party, asking if I could bring something impressive but foolproof. I remembered watching my grandmother pour batter into a baking dish instead of fussing with individual pancakes, and it clicked—why not turn that into something elegant? That first pan came out of the oven golden and fragrant, the maple syrup creating those gorgeous ribbons throughout, and suddenly I had a dish that looked like I'd spent hours when really, I'd barely spent thirty minutes.
What really sold me on this recipe was watching my nephew (normally a cereal-only kid) ask for a second slice before he'd even finished his juice. His mom looked at me like I'd performed magic, and honestly, the simplicity of the method made me feel like I had—no special skills required, just a bowl and a willingness to let the oven do the heavy lifting.
Ingredients
- All-purpose flour (2 cups): This is your foundation, and measuring by weight would be ideal if you have a scale, but spooning and leveling works perfectly fine too.
- Granulated sugar (2 tablespoons): Just enough sweetness to balance the eggs and milk without making the batter taste like dessert.
- Baking powder and baking soda (2 teaspoons and 1/2 teaspoon): These two work together to create that fluffy, cloud-like texture—don't skip or combine them haphazardly.
- Salt (1/2 teaspoon): A pinch that you won't taste directly but absolutely will if it's missing.
- Eggs (2 large): Room temperature eggs mix more smoothly, so pull them from the fridge a few minutes early if you remember.
- Whole milk (2 cups): Full-fat milk gives the best richness, but whatever you have on hand will work.
- Unsalted butter, melted (1/4 cup plus extra for greasing): Melted butter blends seamlessly into wet ingredients and creates that tender crumb.
- Vanilla extract (1 teaspoon): A small amount that rounds out the flavors and makes the whole thing smell like comfort.
- Pure maple syrup (1/2 cup plus more for serving): Don't grab the imitation stuff for drizzling into the batter—real maple syrup has a complexity that actually matters here.
- Chopped pecans or walnuts (1/2 cup, optional): They add a pleasant crunch and a subtle nutty depth, though you can absolutely skip them.
- Powdered sugar (for dusting, optional): A light dusting makes it look fancy without changing the flavor.
Tired of Takeout? 🥡
Get 10 meals you can make faster than delivery arrives. Seriously.
One email. No spam. Unsubscribe anytime.
Instructions
- Set the stage:
- Preheat your oven to 350°F and get that 9x13-inch baking dish buttered and ready. A light coating of butter keeps everything from sticking without creating an oil slick.
- Combine the dry team:
- Whisk your flour, sugar, baking powder, baking soda, and salt together in a large bowl. This distributes the leavening agents evenly so you don't end up with dense pockets.
- Blend the wet ingredients:
- In another bowl, whisk eggs, milk, melted butter, and vanilla until the mixture is smooth and pale—about a minute or two of brisk whisking. This incorporates a little air, which helps create that fluffy texture.
- Bring it together gently:
- Pour the wet mixture into the dry ingredients and stir until just combined—lumps are your friends here because overmixing activates the gluten and toughens everything up. Think lazy, casual stirring, not aggressive mixing.
- Into the dish:
- Pour all that beautiful batter into your prepared baking dish and spread it so it's relatively level. Don't stress about perfection.
- Marble with maple:
- Drizzle that maple syrup over the top and use a knife or thin spatula to gently swirl it through the batter, creating those gorgeous ribbons. Don't overthink the pattern—random looks better anyway.
- Top it off:
- Scatter your pecans or walnuts over the surface if you're using them. They'll toast slightly and add a wonderful textural contrast.
- Let the oven work:
- Bake for 28 to 32 minutes, checking around the 28-minute mark with a toothpick—it should come out clean or with just a few moist crumbs clinging to it. The top will be golden and the edges will pull away from the pan slightly.
- Rest and finish:
- Pull it out and let it sit for about 5 minutes so it can set slightly. Then dust generously with powdered sugar if you like, slice it into squares, and serve warm with a little pitcher of extra maple syrup on the side.
 Save
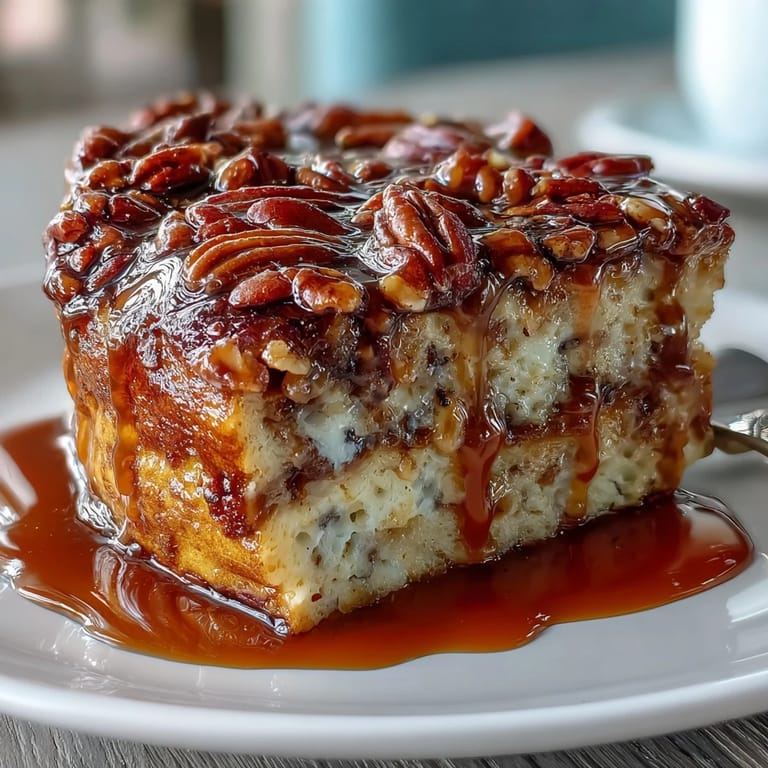
Save I've learned that breakfast food carries a strange kind of magic—it's not about impressing people with technical skill but about giving them something warm and comforting that tastes like someone cared. When that casserole comes out of the oven and fills the kitchen with the smell of toasted maple and butter, everything else seems a little smaller and quieter and better.
When to Serve This
This casserole is built for lazy mornings when you want something special but don't want to be stuck at the stove. It works beautifully for a casual brunch gathering because you can have it ready and baking while your guests have coffee, or you can even make it the night before and reheat individual slices in the morning. I've also found it's oddly comforting as a light dinner with some fresh berries on the side, especially on those evenings when you want breakfast food but feel a little sheepish about it.
How to Make It Your Own
The beauty of this recipe is how willing it is to play along with whatever you have on hand or whatever mood you're in. If you're someone who can't resist blueberries, fold a handful into the batter before pouring it into the dish, or scatter sliced bananas over the top before baking. Some mornings call for chocolate chips stirred into the batter, and other times a sprinkling of cinnamon mixed into the powdered sugar for dusting feels like the right move. The maple syrup is the anchor that holds everything together, so keep that, but everything else is genuinely flexible.
Making It Work for Your Dietary Needs
I've had friends with different dietary preferences ask about adaptations, and honestly, this recipe is more accommodating than you'd think. Plant-based milk swaps in seamlessly, and coconut oil or vegan butter work just fine in place of regular butter if you're going dairy-free. The structure of the dish relies on those eggs for binding, so that's trickier to replace, but if you're navigating gluten-free, swapping the all-purpose flour for a quality gluten-free blend works well as long as it has a good ratio of starches included.
- Make sure any plant-based alternatives you use have a similar fat content to dairy versions so the texture stays tender.
- If you're making this for guests with restrictions, test your substitutions once before the big breakfast so you feel confident about the results.
- Real maple syrup is naturally vegan and gluten-free, making it the perfect anchor ingredient for people navigating multiple dietary paths.
 Save
Save There's something quietly satisfying about pulling a golden casserole out of the oven and knowing you've created something that tastes indulgent but required almost no fussing. Serve it warm, slice it generously, and let people pour syrup over their own plates—that's where the real magic happens.
Recipe FAQs
- → How do I achieve a fluffy texture?
Use fresh baking powder and soda with gentle mixing; a few lumps in the batter help maintain airiness during baking.
- → Can I substitute maple syrup with another sweetener?
Yes, honey or agave syrup can be drizzled instead, though flavor and sweetness levels will vary slightly.
- → What nuts work best as toppings?
Chopped pecans or walnuts add a pleasing crunch and complement the sweet syrup nicely.
- → Is it possible to make a dairy-free version?
Replace milk and butter with plant-based alternatives like almond milk and vegan margarine for similar results.
- → How should leftovers be stored?
Cover and refrigerate leftovers promptly; gently reheat slices in the oven or microwave before serving.